

Adding Photos to a Work Order
A quick guide to adding photos to a work order.
Work Orders can be created by clicking the
+ Work Orderbutton when viewing a case.Photos are attached on the case only and are automatically added to the work order.
Adding photos
- On the left side bar, select
Cases. - Select the case created for the work order.
- Under
Attachments, click+ Add file.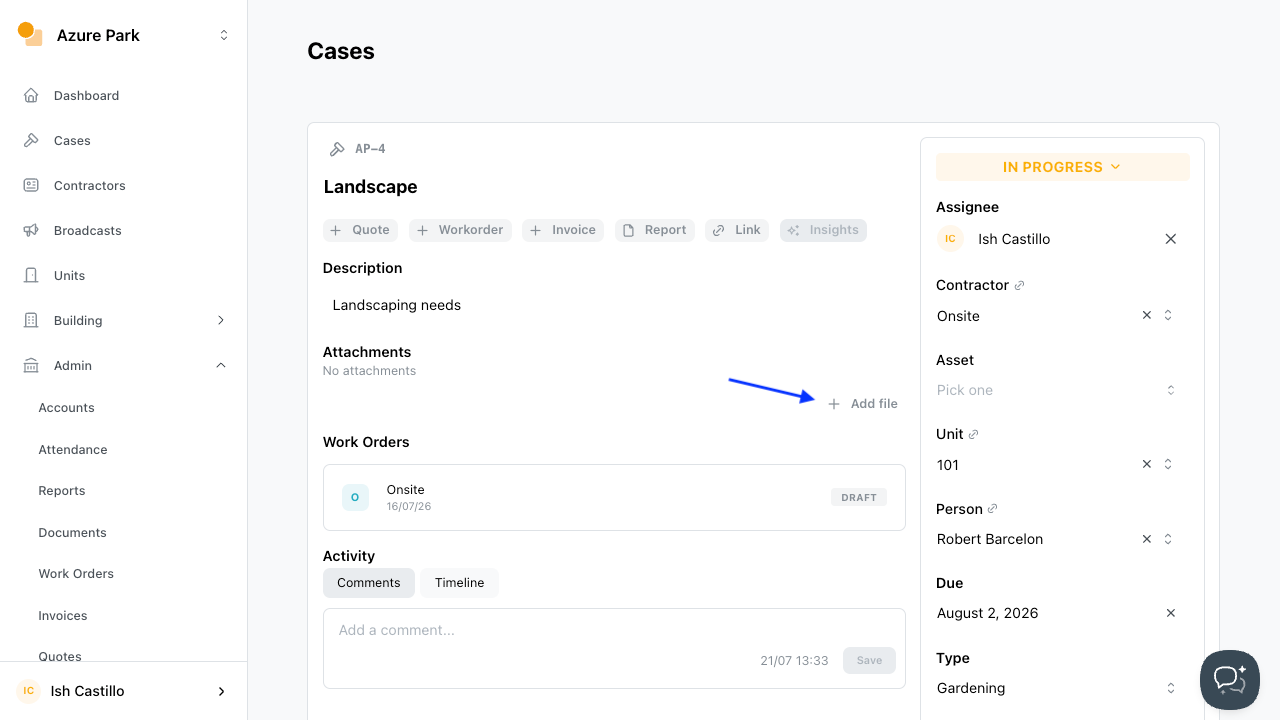
- Select the photo/s to upload.
- Select the work order.
- Preview the work order before sending. Ensure all details are correct and the photos are attached.
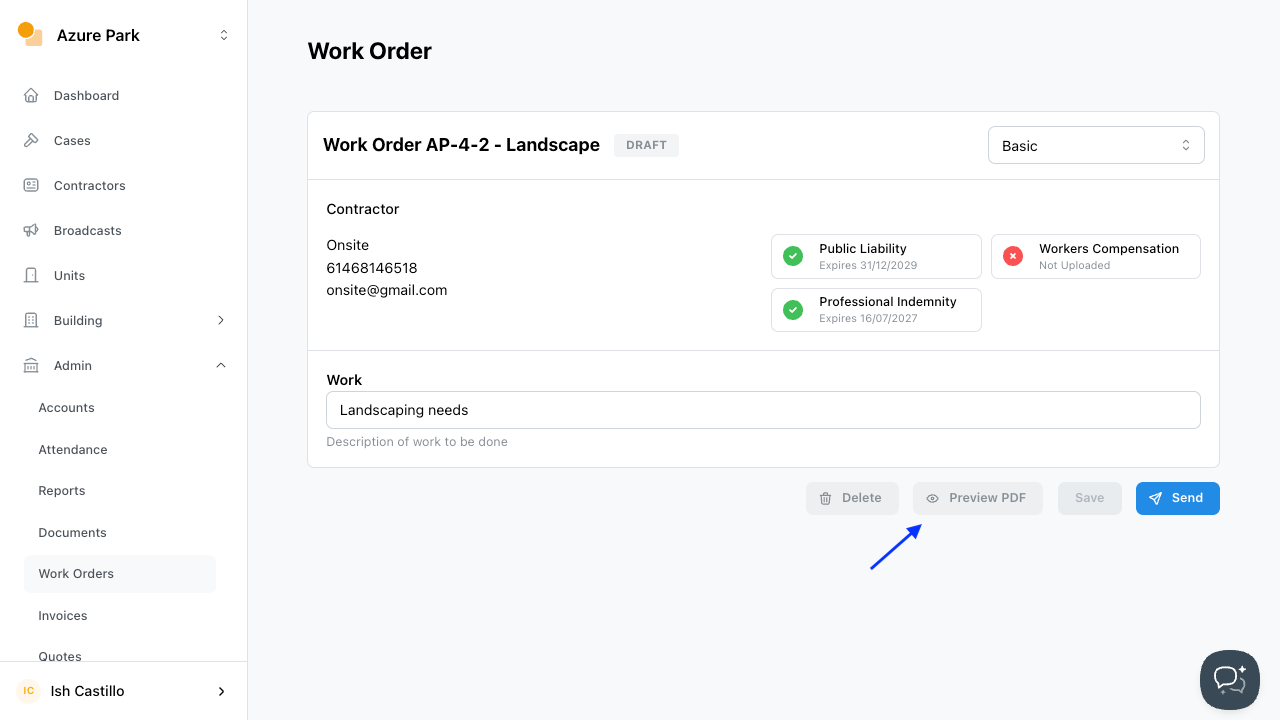
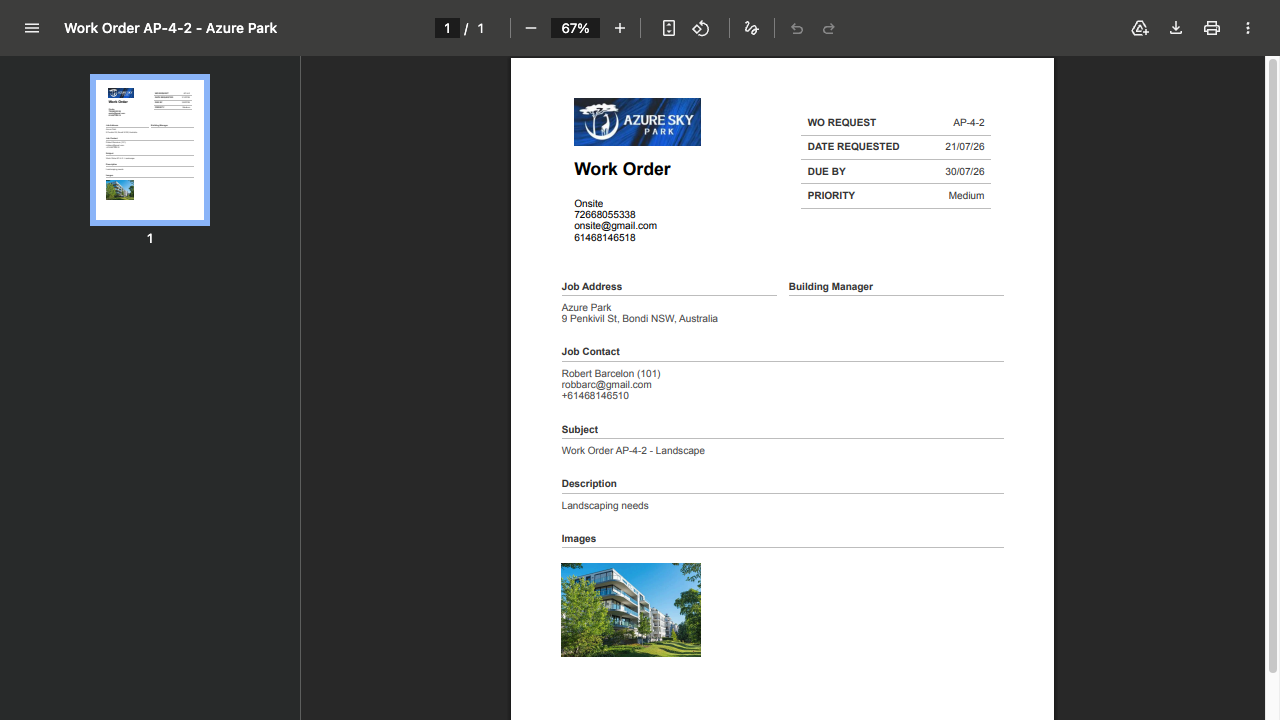
- If all looks good, click
Send.
All uploaded images are automatically added to the work order created for the same case.